


When I first started building WordPress websites, tracking visitor data just meant installing Google Analytics and calling it a day.
But times have changed. With new privacy regulations, using cookies to collect personal information without user consent can lead to legal headaches and lost visitors.
I’ve helped several WordPress site owners transition to cookie-free analytics solutions that still provide powerful insights. After testing numerous options and implementing them across various types of websites, I’ve identified the most effective approaches.
In this guide, let me show you two ways to add analytics while respecting your visitors’ privacy. One uses a privacy-first setup for Google Analytics (which uses first-party cookies), and the other is a cookieless option.
Do I Really Need Cookieless Analytics?
You’ve probably heard a lot about cookies and privacy laws. But what does it all really mean for your WordPress website’s analytics? Let me break it down.
Cookies are small pieces of data that are stored on a user’s browser when they visit a website.
Traditional analytics tools like Google Analytics 4 (GA4) use these cookies to track visitor behavior. This includes details like which pages they visit, how long they stay, and what actions they take.
All this data helps site owners better understand their audience and improve their websites.
🚨 Here’s the challenge: New privacy laws, like the GDPR, CCPA, and ePrivacy, require websites to ask for explicit user consent before tracking with cookies. Because of this, many website owners think they must switch to cookie-free analytics to stay compliant.
However, that’s not actually true!
You can still track important data while staying compliant with privacy laws. We’ll show you some workarounds to set up cookieless analytics.
Why “Cookieless” Google Analytics 4 is the Best Option
When it comes to website analytics, Google Analytics 4 (GA4) is still the best and most powerful tool available – and that’s true for all types of websites. So, if you want accurate insights into your visitors’ behavior, GA4 is the way to go.
But before we start, let’s clear up a common misunderstanding: GA4 does not rely on third-party cookies. Instead, it uses first-party cookies, which are set by your own website to collect data about your visitors’ activity on your WordPress site only.
In contrast, third-party cookies are set by external services (like ad networks) and track users across multiple websites. Because of their broader tracking scope, they raise more privacy concerns and are being phased out by many browsers.
Now, you might be wondering: “Since GA4 still uses cookies – even if they’re first-party – can it be used in a way that complies with privacy laws?”
The answer is yes!
However, do note that Google Analytics itself isn’t automatically compliant or non-compliant. It’s your responsibility to use it in a way that follows the rules that apply to you.
Plus, whether you need cookie consent for Google Analytics depends on several factors. They can be where you and your visitors are located, and how you handle their data.
Since cookie consent laws differ by country (even within the EU), some websites must ask users to consent to specific cookies, while others need a banner for any cookie use.
To help with this, I’ll show you how to pair GA4 with:
✅ MonsterInsights with the EU Compliance addon – This helps ensure your data handling aligns with GDPR and other privacy regulations.
✅ WPConsent cookie banners – These help you request and manage user consent the right way.
With these tools in place, you can continue using GA4 in a way that supports compliance with privacy laws. This helps you gather valuable insights while reducing the risk of legal issues.
How to Add WordPress Analytics Without Cookies
Now that I’ve covered what cookieless tracking is and whether you really need it, let’s talk about how to set it up on your WordPress site.
There are 2 solid options to do this:
- GA4 + MonsterInsights EU Compliance addon – Track user behavior with GA4 while staying compliant with privacy laws like GDPR. It uses first-party cookies and offers configurable settings for stronger privacy. Ideal for getting detailed insights with easy website integration.
- Burst Statistics – Let’s you set up analytics without cookies. It stores data on your server and offers a hybrid mode with optional cookies.
I will cover both methods in our tutorial, along with some extra tips and FAQs about cookieless tracking.
Feel free to use the jump links below to go to your preferred method:
Ready? Let’s break it down.
Method 1: How to Set Up WordPress Cookieless Analytics (Keep Using GA4 for the Best Insights)
This method is for if you want access to powerful analytics while still respecting user privacy. I’ll be using MonsterInsights alongside WPConsent to set up cookieless tracking.
Step 1: Install MonsterInsights to Set Up Cookieless Analytics
MonsterInsights is the most popular Google Analytics plugin for WordPress, and for a good reason: it makes viewing your Google Analytics data in WordPress incredibly easy.
At WPBeginner, we use it to track traffic sources, visitor demographics, and conversion rates on our forms, buttons, referral links, and more. Check out our complete MonsterInsights review for a deeper look at its features.
✏️ Quick note: In this tutorial, I’ll be using the MonsterInsights Pro version because it comes with the EU Compliance addon (we’ll need it in step 3). But there’s also a free MonsterInsights version that works great if you just need basic analytics reports.
So, let’s first install and activate the MonsterInsights plugin. For details, you can see this guide on how to install a WordPress plugin.
Step 2: Connect MonsterInsights to Google WordPress Analytics
Once you have MonsterInsights up and running, it’s time to connect it to your site and your Google Analytics account.
You can click the ‘Insights’ tab in the left-hand menu of your WordPress dashboard.
Next, just click the ‘Launch the Wizard’ button to start the MonsterInsights setup process.

On the next screen, you’ll need to pick a category that best describes your website.
This can be a WordPress blog, business site, or online store.
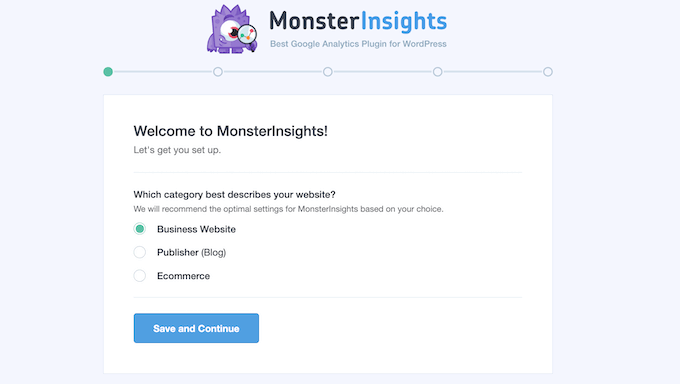
Just hit ‘Save and Continue’ after you make your choice.
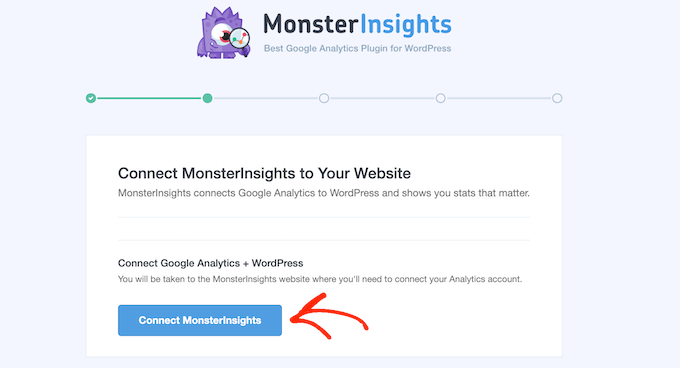
After that, you’ll need to connect MonsterInsights to your website’s Google Analytics account.
Simply click the ‘Connect MonsterInsights’ button to begin the process.
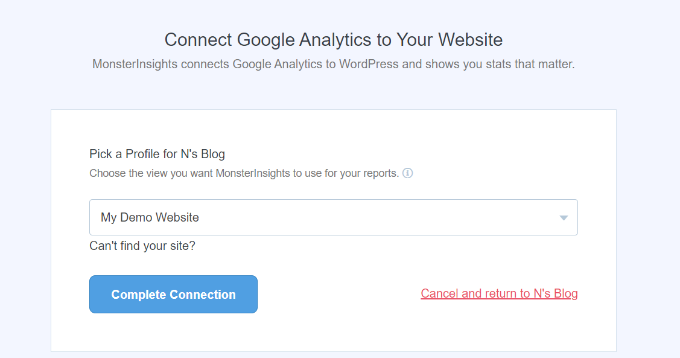
In the next steps, you’ll have to sign in to your Google Analytics account and select the website you want to track.
MonsterInsights will then install Google Analytics on your site – easy as that!
For details, you can see this guide on how to install Google Analytics in WordPress.
Step 3: Install the MonsterInsights EU Compliance Addon
Since GA4 still uses first-party cookies, you need to make sure that your tracking complies with GDPR. The MonsterInsights EU Compliance addon makes this easier by automating key privacy settings in GA4.
Some of its essential features include:
- Anonymizing IP addresses to prevent personal data storage.
- Disabling the tracking of user demographics, interests, and User IDs.
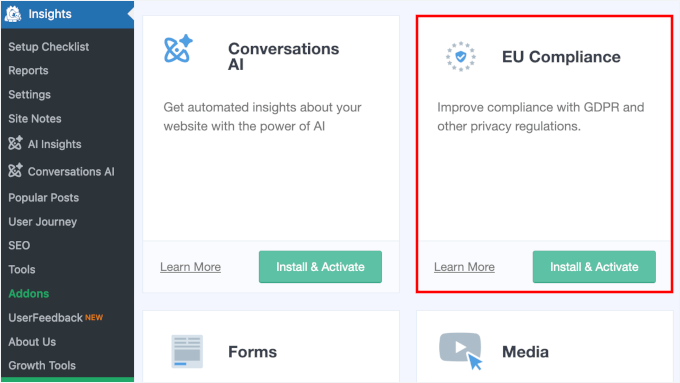
To install the addon, you can navigate to Insights » Addons.
Here, go ahead and click the ‘Install & Activate’ button to install the EU Compliance addon.
After that, you can switch the toggle to activate the addon when it appears.
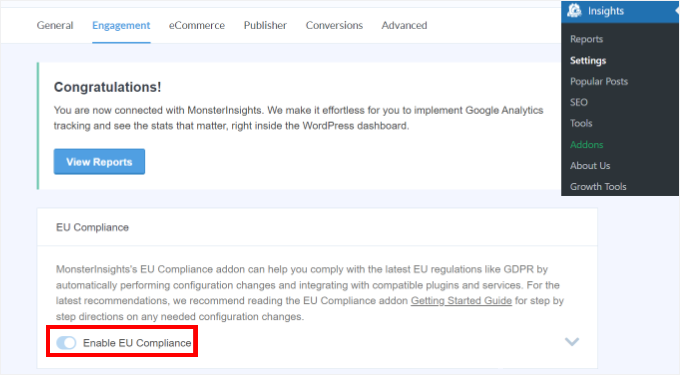
Upon activation, let’s go to the ‘Settings’ menu.
In the ‘Engagement’ tab, simply toggle the ‘Enable EU Compliance’ setting to turn it on.
We also recommend verifying the settings directly in GA4 to ensure your GA4 setup aligns with your MonsterInsights privacy settings.
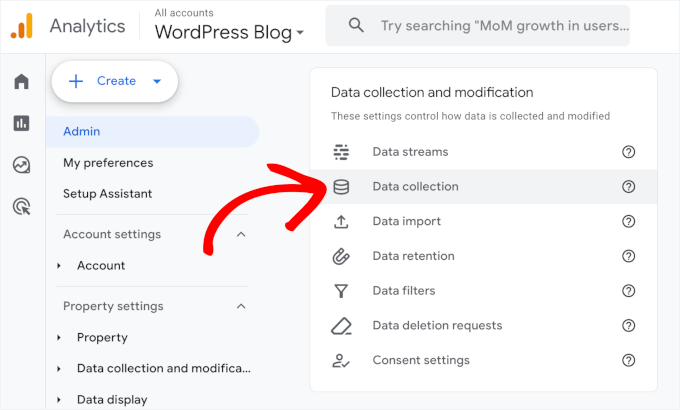
For example, to make sure your GA4 doesn’t track demographics, you can navigate to your GA4 ‘Admin’ panel.

Next up, you’ll want to locate the ‘Data collection and modification’ setting.
Then, simply click the ‘Data collection’ option.
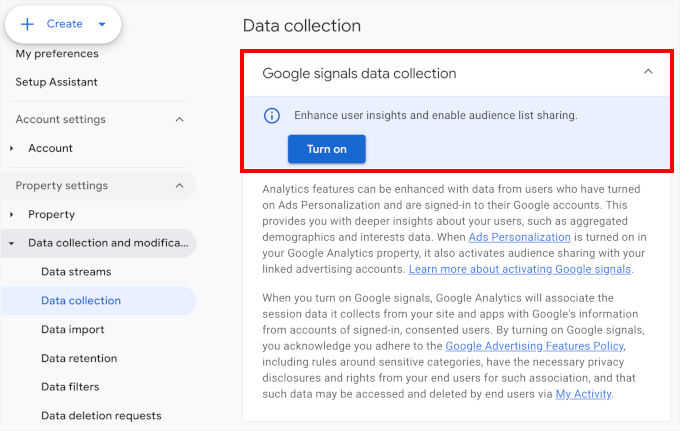
Now, in the ‘Google signals data collection’ settings, you should make sure it’s disabled.
Why does this matter? Google Signals collects extra user data, including:
- Demographics & Interests – Age, gender, and hobbies.
- Location & Engagement – User locations (from Google accounts).
- Cross-Device Tracking – Identifies users as they switch between devices.
- Cross-Platform Reports – How users interact across devices.
- Ad Personalization Data – Connects with Google Ads for remarketing.
If it’s already off, then you should see the option to ‘Turn On’ like this:
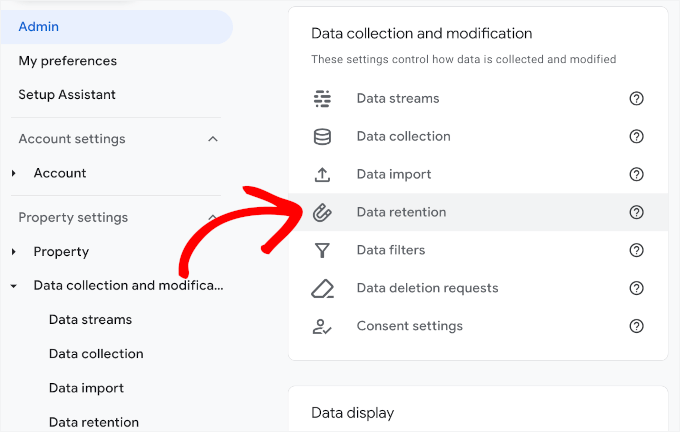
You might also want to review your data retention settings.
Data retention controls how long GA4 stores user-level and event-level data before automatically deleting it. A shorter retention period can help with GDPR compliance and privacy regulations.
To do this, you can go to Data collection and modification » Data retention from the ‘Admin’ menu.
On the next screen, you’ll see options to set the event and user data retention period.
You can click the ‘Data retention’ dropdown menus for both event and user data. Then, for stricter compliance, simply choose the ‘2 months’ option.
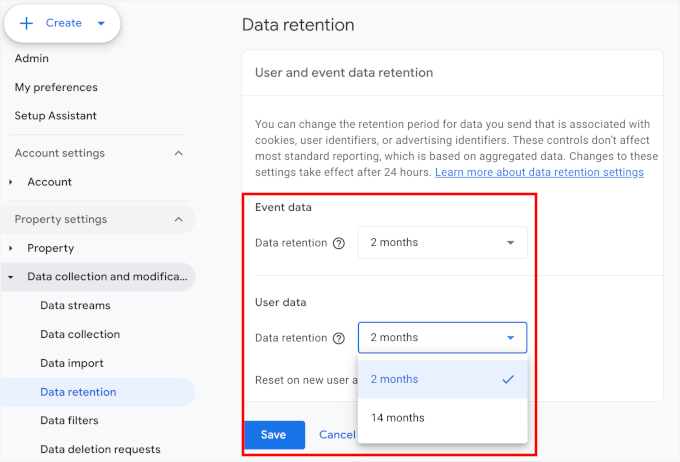
Don’t forget to click ‘Save’ when you’re done adjusting.
To learn more about all things GA4, you can check out our beginner’s guide on how to use Google Analytics 4.
Step 4: Set Up the WPConsent Cookie Consent Plugin
Using Google Analytics 4 while complying with laws like GDPR and CCPA means you need to get user consent before tracking. And that responsibility falls on you.
Whether consent is required depends on where your business is based, where your users are located, what data you collect, and how it’s used. Plus, rules vary widely across countries, even within the EU, with some requiring consent for specific cookies and others for any type.
Instead of handling this manually yourself, you can use WPConsent to simplify compliance.
This powerful plugin lets you display a cookie consent banner, log user choices, and control when tools like GA4 are allowed to run — all within WordPress.
At WPBeginner (and some of our partner brands), we use WPConsent, and it’s been a reliable solution for managing privacy settings. Explore all of its features in our complete WPConsent review!
So, let’s start by installing the WPConsent plugin. If you need help, then you can see this beginner’s guide on how to install a WordPress plugin.
✏️ Quick note: You can use the free WPConsent plugin to set up cookie banners. But for this article, I’ll use the WPConsent Pro version because it provides access to cookie consent logs.
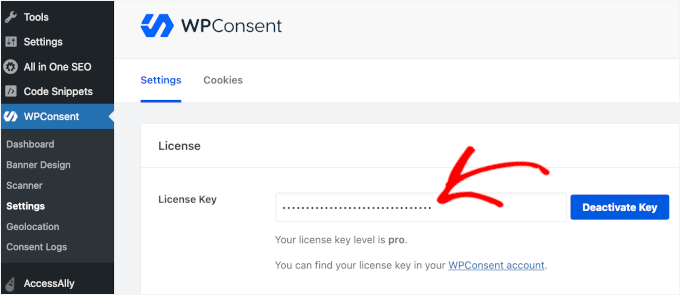
Upon plugin activation, let’s activate the license key.
To do this, you’ll need to go to WPConsent » Settings. After that, simply copy the license key from your WPConsent account and paste it into the ‘License Key’ field.
Then, go ahead and click the ‘Activate Key’ button.
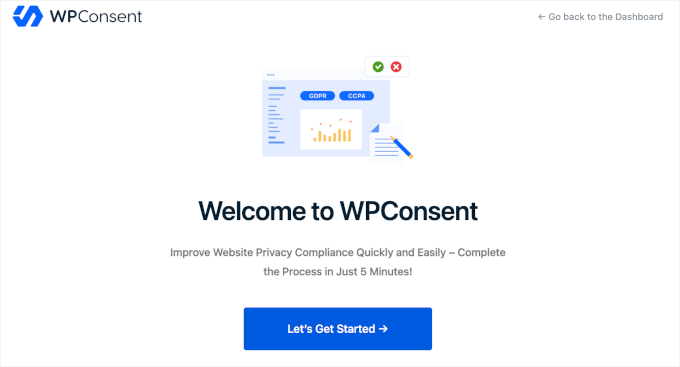
With that done, let’s navigate to ‘Dashboard’ to go through the setup wizard.
Go ahead and click on the ‘Let’s Get Started’ button.
On the next screen, WPConsent will run a scan to see if your site is using cookies.
First, it will ask you to check your site’s email address.
If everything looks good already, then you can click ‘Scan Your Website.’
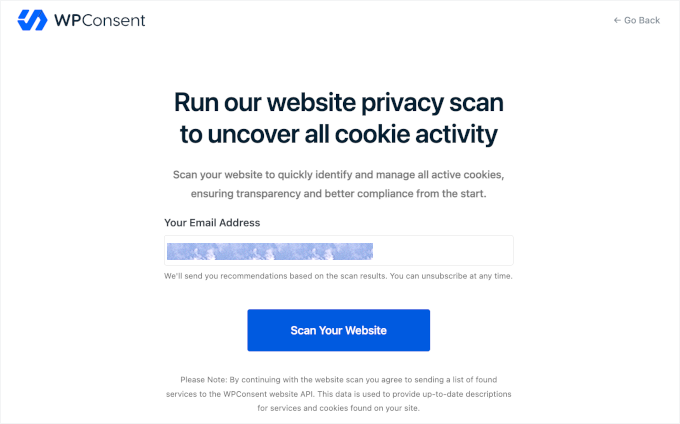
This will trigger the tool to start the cookie scan.
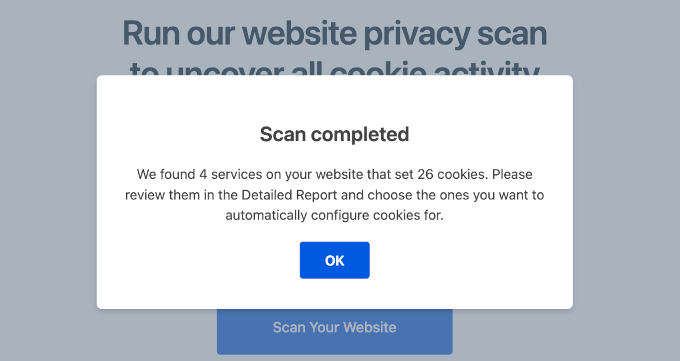
Once done, you’ll see a ‘Scan completed’ notification along with a short report on the tool’s findings. For example, here it says that WPConsent found 4 services on our site that have set cookies.
Let’s click on ‘OK’ to continue the process.
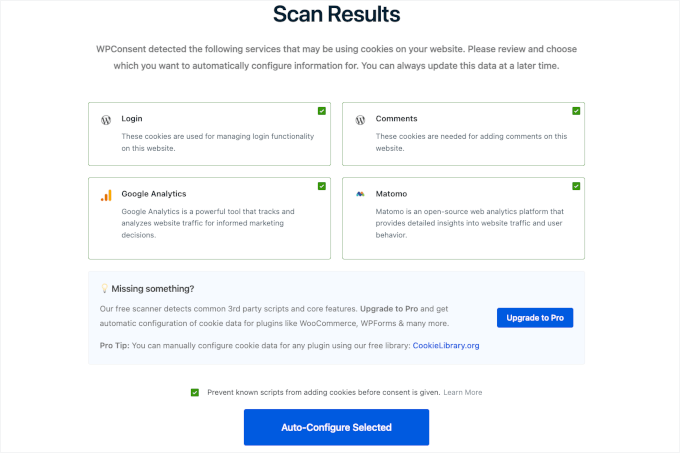
Next up, you’ll see your WordPress site’s scan results in more detail.
On my demo site, the services that use cookies are WordPress login (this might be because of the ‘Remember Me‘ option), WordPress Comments, Google Analytics, and Matomo.
Make sure that you select all the services. Then, you should also check the box that says ‘Prevent known scripts from adding cookies before consent is given.’
With that done, go ahead and click the ‘Auto-Configure selected’ button.
After that, WPConsent will prompt you to set up your cookie banner.
The process is super simple. You just need to choose a layout and pick a position.
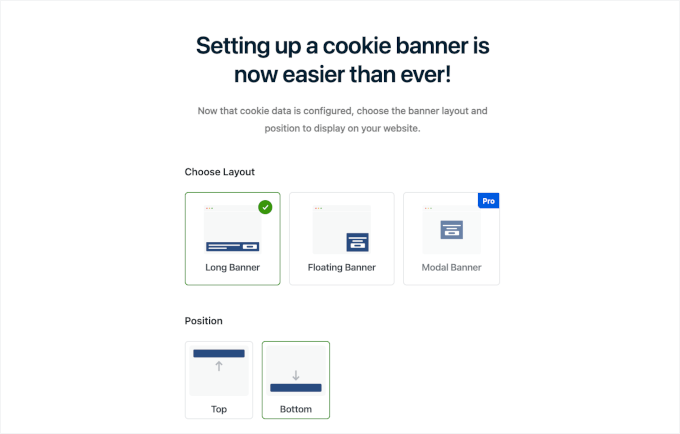
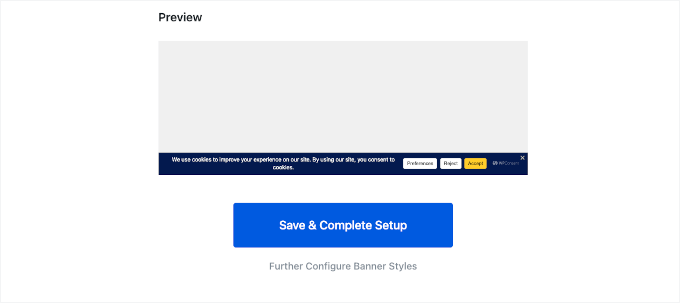
Then, you can scroll down the page to preview your cookie consent banner.
If everything looks good to you, it’s time to click the ‘Save & Complete Setup’ button.
And you’re done!
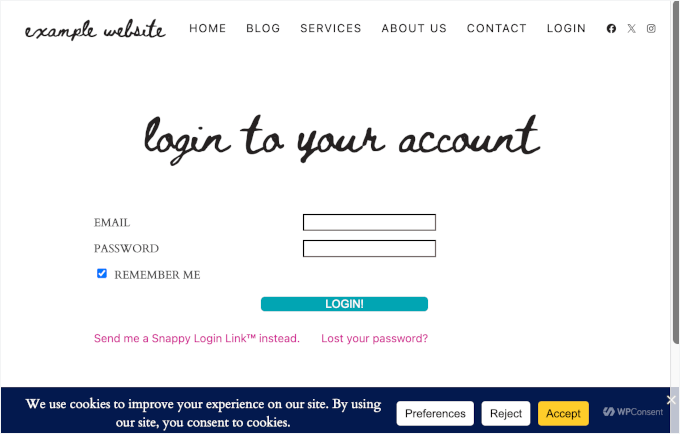
Now, if you visit your website, you’ll see your cookie consent banner in action.
👉 Expert Tip: Adding a link to your privacy policy page in the cookie banner helps build trust with your visitors and align with legal requirements. If you don’t have one yet, then check out our tutorial on how to add a privacy policy page in WordPress.
After setting it up, you can embed the link into your cookie banner from the WPConsent editor.
Just navigate to WPConsent » Banner Design from your admin area. Then, you can edit the text in the ‘Message’ field to include the link to your Privacy Policy page.
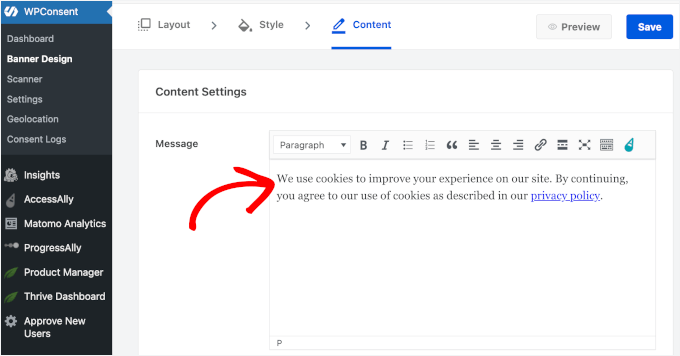
Don’t forget to click the ‘Save’ button so you don’t lose your progress.
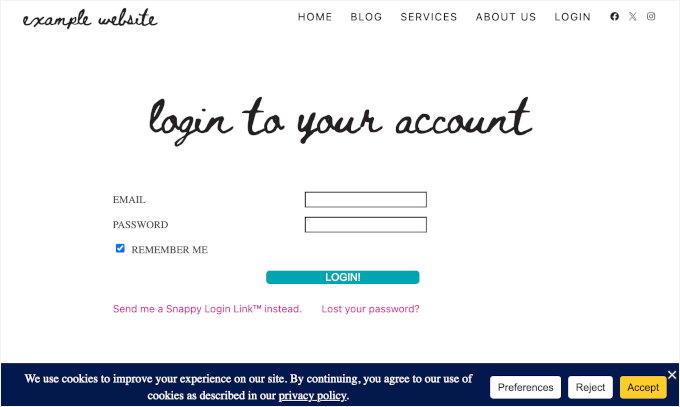
And here’s your cookie banner:
Step 5: Access Consent Logs to Verify Your Privacy Settings
WPConsent has a ‘Consent Logs’ section that provides a detailed record of how visitors interact with your site’s cookie consent popup.
To see your logs, go ahead and navigate to WPConsent » Consent Logs from your WordPress admin area.
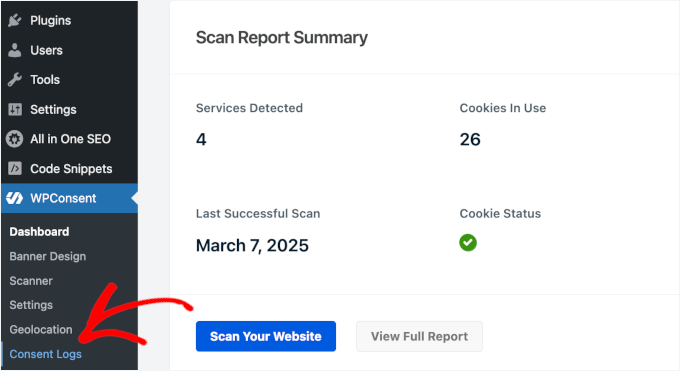
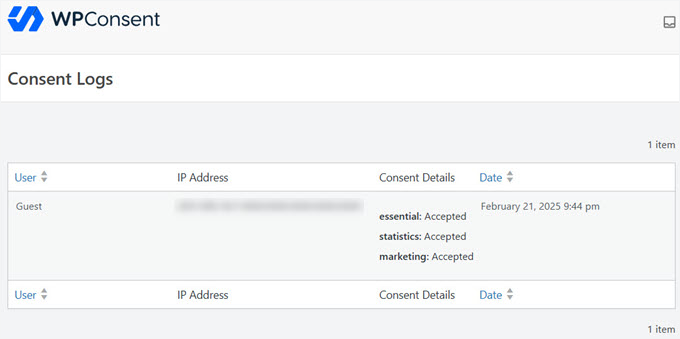
Here, you’ll find a table with all your users’ consent details.
For example, I have a user who accepted all cookies – essential, statistics, and marketing.
And that’s it – you’ve successfully set up Google Analytics with enhanced privacy settings while still using cookies.
Method 2: How to Set Up WordPress Analytics Without Cookies (Free Option with Less Data Accuracy)
If you’re looking to track analytics without cookies, then Burst Statistics is a great option. This free plugin makes the process pretty simple.
Keep in mind that Burst Statistics uses a technique called fingerprinting. It’s a way to identify a computer or device based on its unique characteristics, like the browser, operating system, and installed fonts, even without using cookies.
While it’s generally considered less intrusive than cookies, it’s still a form of tracking, so it’s good to be aware of it.
Now, let’s take a look at how you can set it up on your WordPress site.
Step 1: Install and Activate the Burst Statistics Plugin on WordPress
To get started, you need to install and activate the free Burst Statistics plugin. Simply navigate to Plugins » Add New Plugin from your admin area.
After that, you’ll want to use the search feature to quickly find the plugin. Then, go ahead and click the ‘Install Now’ button.
✏️ Quick note: For this guide, I’ll use the free Burst Statistics plugin to set up analytics without cookies. However, upgrading to Burst Statistics Pro will unlock lots of other cool features, including data archiving, multiple goal tracking, and advanced filters.

Then, you should click once again on the ‘Activate’ button when it appears. If you need help, then you can check out this guide on how to install a WordPress plugin.
Step 2: Configure Settings for Optimal Performance and Privacy
Upon plugin activation, you can enable analytics without cookies straight away.
All you have to do is navigate to Statistics » Settings from your WordPress admin area. Then, let’s make sure you’re in the ‘General’ tab.
From here, simply switch on the ‘Enable Cookieless tracking’ option like this:
And that’s it – you’ve successfully set up WordPress analytics without cookies on your website.
Step 3: Verify if Your Analytics Are Working Properly
Unlike the more traditional approach, analytics without cookies avoids storing personal data, like IP addresses or other user identifiers. Instead, it provides anonymized, aggregated data.
That said, it’s important to note that some methods still involve data collection. This may carry privacy implications depending on how they’re implemented.
To see if your analytics are working properly, you need to go to the ‘Statistics’ menu. On the next screen, you’ll immediately find your visitors and pageviews graph for the last seven days.
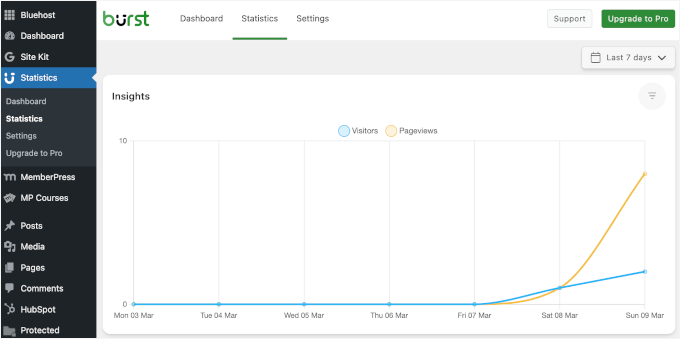
To see the statistics in detail, you can scroll down this page.
Here, you might notice that your sessions are counted differently.
In traditional analytics, cookies track when a visitor starts and ends a session. If the same person comes back within a certain time frame (usually 30 minutes), it’s counted as the same session.
In analytics without cookies, returning users cannot be recognized within that window. Instead, each visit is treated as a new session, even if it occurs shortly after the last one.
🤔 What does this mean for your reports? You may see a higher number of sessions than usual because visitors who leave and return within a short period won’t be grouped into a single session.
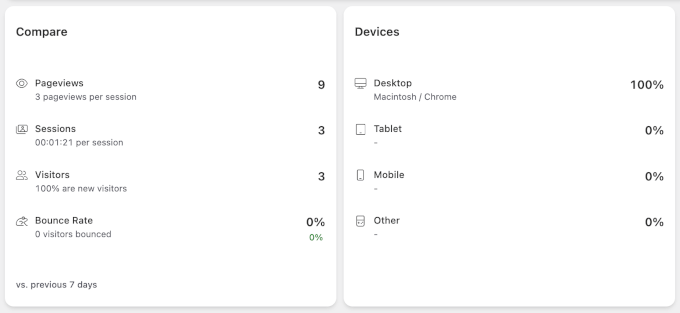
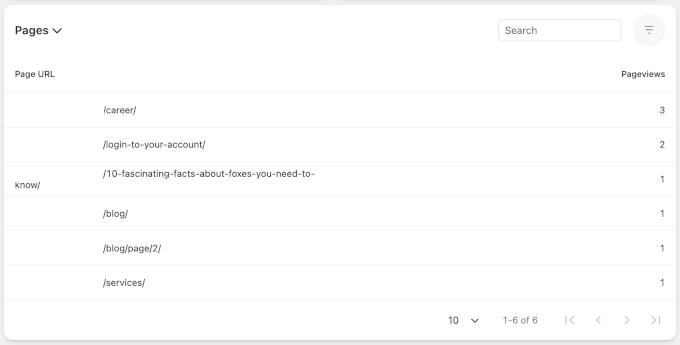
Further down the page, Burst Statistics provides a dedicated ‘Pages’ report that shows how pageviews are distributed across your site.
For example, if your ‘Compare’ report shows 9 pageviews, then you can see that 3 views came from the ‘Career’ page, 2 views from the ‘Login’ page, and so on.
FAQs About Cookieless WordPress Analytics
Still have questions? Let’s clear up some common concerns about tracking website data without cookies.
Why do websites need cookies?
Cookies store small amounts of data to remember user preferences, track user behavior, and improve the user experience. Many analytics tools use cookies to identify returning visitors and track interactions over time.
How can I add analytics to my WordPress site?
In short, you can add analytics to your WordPress site using tools like MonsterInsights, Matomo, or HubSpot.
I recommend MonsterInsights because it makes installing Google Analytics in WordPress easy. It gives you all your GA4 data in easy-to-understand reports directly in your WordPress dashboard.
For details, see this guide on how to install Google Analytics in WordPress.
Do all websites with analytics need cookie warnings?
No. If your analytics solution doesn’t store personally identifiable information (PII) or track users across sessions using cookies, then you don’t need a cookie consent banner. This is why many site owners switch to analytics without cookies.
For example, Burst Statistics is a privacy-focused analytics tool that uses fingerprinting techniques. Instead of storing cookies, it analyzes non-personal browser and device data to differentiate visitors.
Keep in mind that while this approach is technically cookieless, it is still a form of data collection that may have privacy considerations.
Will cookieless analytics affect data accuracy?
It depends on the tool you use.
Cookieless tracking may not capture user journeys in as much detail, but it still provides accurate insights into overall traffic, page views, and engagement.
Many modern cookieless analytics tools use fingerprinting techniques or server-side tracking to improve accuracy. While these methods minimize cookie usage, they still collect data in other ways, which may raise concerns about privacy.
Can I switch back to traditional analytics if needed?
Yes, most analytics solutions allow you to switch between cookieless and traditional tracking. However, if you start using cookies again, then you may need to add a cookie consent banner to comply with privacy laws.
Further Reading 📚: More WordPress Analytics Guides
I hope this article has helped you learn how to add WordPress analytics without cookies.
Want to dive deeper into WordPress analytics? Check out these guides to track and understand your website’s performance more effectively:
- How to Set Up Google Analytics Goals
- How to See Search Analytics in WordPress
- How to Easily See Your Blog Stats
- How to Track Video Analytics in WordPress
- How to Set Up WordPress Form Tracking in Google Analytics
- How to Set Up Email Newsletter Tracking in Google Analytics
- How to Add Scroll Depth Tracking in WordPress with Google Analytics
- MonsterInsights vs Site Kit (Head-to-Head Comparison)
- Google Analytics vs Jetpack Stats (In-Depth Comparison)
- Best Analytics Solutions for WordPress Users
If you liked this article, then please subscribe to our YouTube Channel for WordPress video tutorials. You can also find us on Twitter and Facebook.
The post How to Add WordPress Analytics Without Cookies (2 Easy Methods) first appeared on WPBeginner.

